By default, TradingView displays regular trading hours for various markets. However, if you’re interested in viewing extended trading hours, which include pre-market and after-hours trading data, you can easily enable this feature. In this article, we will guide you through the steps to show extended trading hours in TradingView, enabling you to have a comprehensive view of market activity beyond regular trading sessions.
Log in to TradingView #
Open your web browser and navigate to the TradingView website. Log in to your TradingView account using your credentials.

Select a TradingView Chart: #
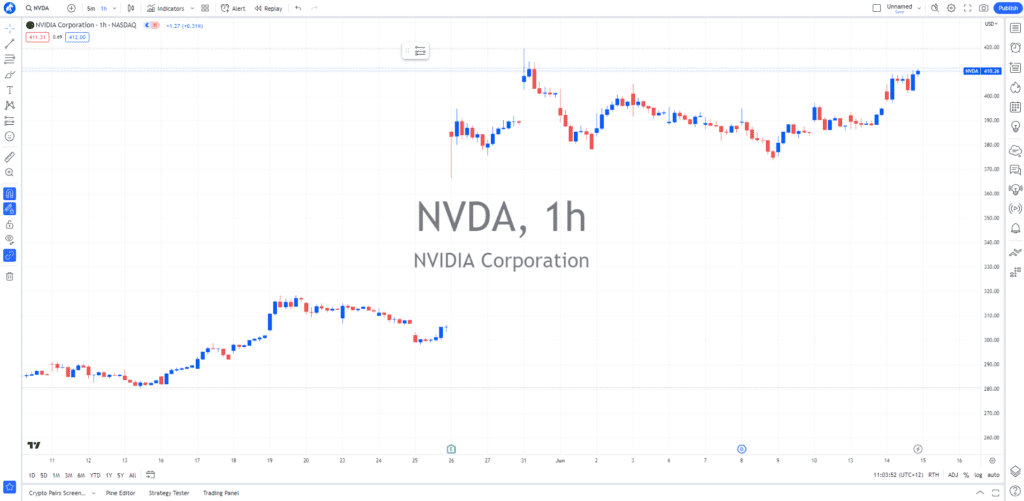
After logging in, choose the trading chart you want to set an alert for. Bear in mind the extended hours feature will only be available on certain assets like stocks that have extended hours as dictated by the exchange that they are listed.
Access the Chart Settings #
Locate the “Chart Settings” option represented by a gear icon, and click on it. This will open the settings panel for the selected chart.
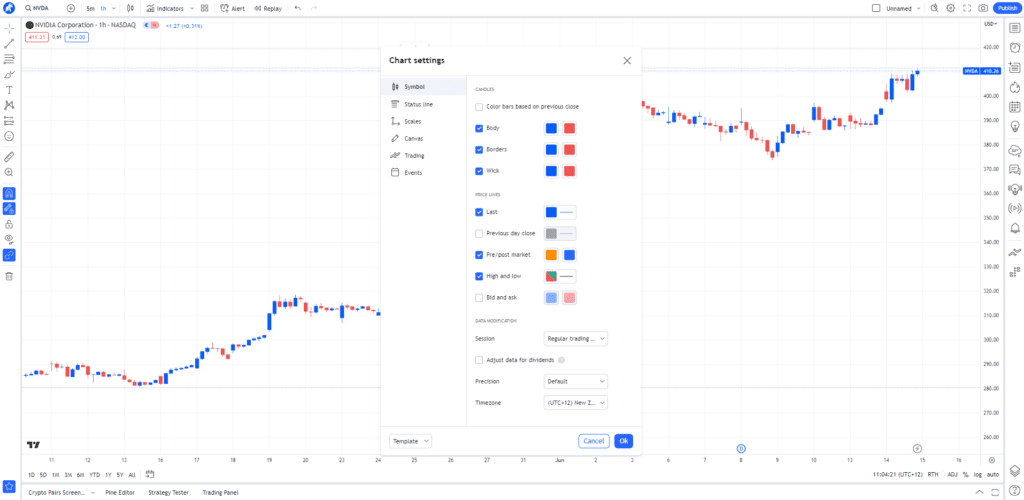
Enable Extended Trading Hours: #
Within the chart settings panel, look for the section related to trading sessions or time settings. The exact terminology may vary depending on the TradingView version you are using. Look for an option that allows you to enable or disable “Extended Trading Hours” or “Pre-Market” and “After-Hours” data.
It helps to be on a timeframe that is less than 1 day.
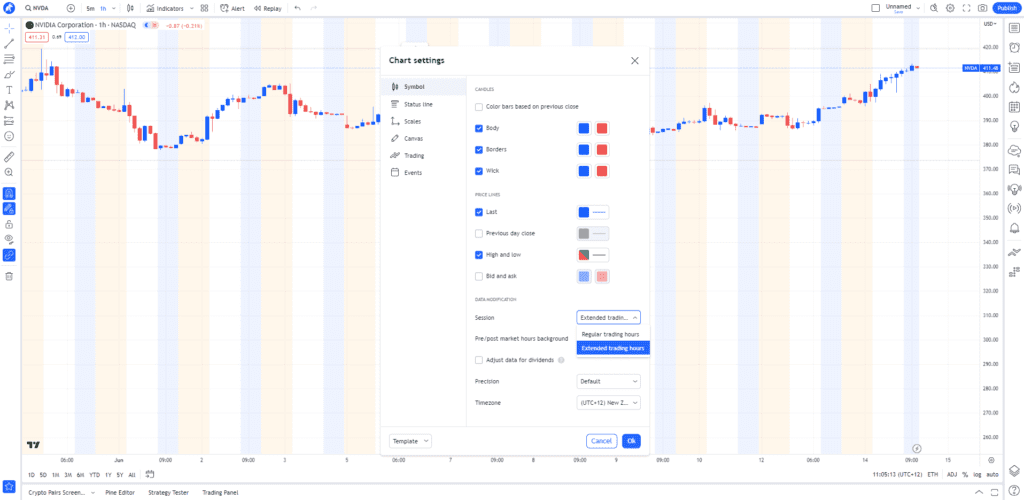
Customize Display Preferences: #
Once you have enabled extended trading hours, you can further customize the display preferences. Some chart settings panels provide additional options, such as selecting the color or shading style for the extended trading hours area on the chart. Adjust these settings according to your preferences.